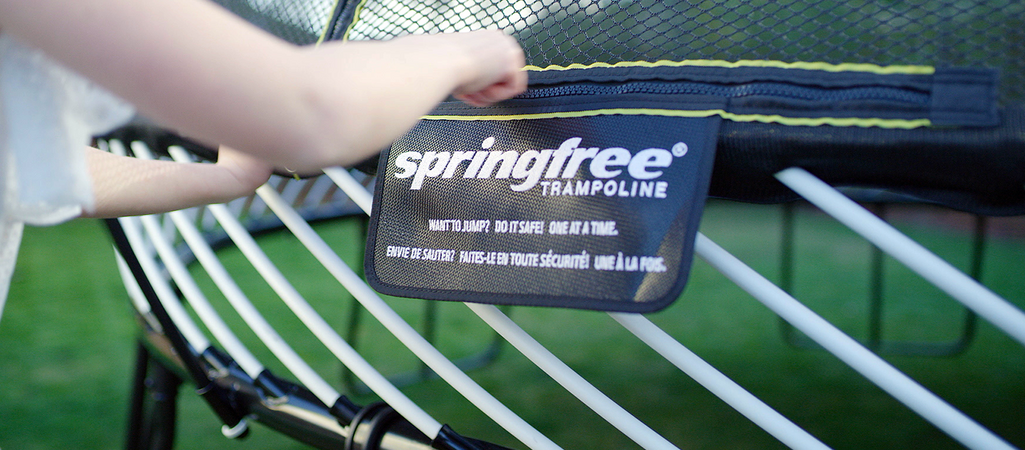
Tips on Installing Your Springfree Trampoline
min read
We know that when you receive your trampoline from Springfree, installing it can seem like a very big job. Don’t panic, we have some tips to help.
To save you time and avoid any unnecessary disagreements with the other half, we have listed our top installation tips, with a few demonstrations from our Springfree professionals to ensure the kids are bouncing sooner.
See our key tips and tricks below:
1. Allow yourself plenty of time
The installation should take around two hours, ensure you allow yourself enough time to get this completed before the sun goes down.
2. Have the instructions close by for easy reference, or download the BILT app
These instructions are instrumental for the successful installation of your Springfree. Please be sure to follow the steps as laid out in the manual.
Every Springfree™ Trampoline model is different, so make sure you’re watching the right videos online and following the right instructions.
The BILT app is free and can be found in your app store, it is 3D and interactive. Bilt will provide a visual example of the technique required to install every component of your trampoline.
3. Do it together
If you can, get your partner to assist with the install. If not, get a friend to help out.
4. Focus on technique
If you’re having to use excessive force, check the instructions and your technique as its likely something’s not quite right.
5. FlexrHoop
If you have purchased a FlexrHoop make sure you install this before you raise the net.
Here are our Top 3 Tips for technique.
TIP 1: You need to place your elbow into hip to provide support while using your body weight.
TIP 2: Use the palm of your hand facing upward and use your body weight to push the mat rod towards the centre of the mat then guide it forward and under the mat rod holder; up in a forward motion and back towards you.
TIP 3: Insert the first 4-6 mat rods into the first mat rod positions marked with blue tags. Do not attempt to install the rods consecutively around the trampoline; follow the sequence as described in the manual to evenly spread the tension as you go.
Finishing your installation
Your Springfree™ Trampoline is just about ready and all you’ve got left to do is raise the enclosure. This is the part of installation that we receive questions about most often so here’s one last handy tip:
- When you push the net rods into the pocket at the top of the net, you’ll feel some resistance near, but not quite at, the top. Check the location of the ball at the top of the net rod and, if it’s not quite at the top, push it past the stitching (refer images below) so that it’s securely positioned at the top of the pocket. Once you’ve done this with all of the net rods you can start raising the net.

Here are a few What NOT to dos:
- Step away from the power tools… and the hammers and the rubber mallets. You’ll only ever need to use the tools provided with your Springfree™ Trampoline.
- Don’t twist the mat edge. If you need to remove a mat rod from its socket, use the same semi-circular technique you used to get it in there, just in the opposite direction.
- Don’t give up. If you are having difficulties and require assistance, please call 0800 586 772 during business hours.